Monday, March 9, 2015

Make It Monday: Clay Spoon Rest

 
I hate how disgusting the oven gets every time we cook. We don't have a spoon rest so the cooking utensils get put down on the white stove or on our counter. Pet peeve: dirty counters.

You can easily change this tutorial to suit your style. Throw in some pain, cookie cutters, etc. So let's start this week with some crafting! I dug deep into my supplies and pulled out what I needed.


-Sculpey Oven-Bake Clay in white
-Scrapbooking stamps
-Stamp ink
-Extra stamp ink lid (optional; makes stamping easier and cleaner)

Preheat oven according to the directions on your package. For Sculpey, I preheated the oven to 275 degrees. While the oven is preheating, begin shaping your clay. If you are using Sculpey brand, you will see that the clay is already split up into four or five sections. You will only need one of those sections.

Shape your clay into a spoon-like shape. and then pinch up the sides of the top.


You can either smooth out the sides of what you have pinched up, or take the lazier (yet fancy) route. I'm lazy so I pinched the edge and made it wavy. I then took the pads of my fingers and evened the surface of my spoon rest out so it appeared smooth.


Then, I picked out my scrapbook stamp and put it, flat side down, onto the extra stamp lid. Using a spare stamp lid allows a cleaner way of stamping. Make sure your spare stamp lid is clean. I dipped the stamp into ink (I chose gold) and stamped it onto my desired area.


I had to resmooth some areas where the lid's edges pushed into the clay. Then, the spoon rest was ready to go into the oven! When I'm about to bake clay, I prefer to set them on glass dishes rather than foil. It keeps the bottom flatter.


The directions for Sculpey is to bake your clay for 15 mins for every 1/4 inch of clay. My spoon rest is nearing an inch at its thickest so I set my timer for an hour. After baking, let your rest sit for another half an hour.


Now to get to cooking in order to test out your new spoon rest!


read more "Make It Monday: Clay Spoon Rest"

Saturday, December 13, 2014

Salt Dough Snowmen


If you've been reading, you know that I'm both strapped for cash and lacking Christmas decorations. So it's back to handcrafting for me!

This week I decided that I wanted some little snowman figurines to sit on top of my oven. I pulled out a basic salt dough recipe and glammed it up!

1 cup flour
1 cup salt
1/2 cup water
BAM dash of silver glitter


I start rolling the dough into balls and building my snowmen.  For arms I used the stems off of leaves. They are remotely uniform and can easily be replaced next year if need be. After building my snowmen, I pushed the ends of the stems into them to make the holes where they will go after baking. DO NOT LEAVE THE STICKS IN THE SNOWMEN WHILE BAKING.


I even made a fat snow cat!
 I baked them at 250 F for 2 hours. Once they were done baking, I pulled out my puff paint and went to work on them. I went classic coal eyes and carrot noses. I gave the mother and daughter pink bows and their heads and the father has a yellow bow tie.


They began drooping a little while baking, making them look almost melted. I just say that it's the parents running after the kid!
read more "Salt Dough Snowmen"

Saturday, December 6, 2014

Cinnamon Ornaments - The Messy Truth

No one wants to admit that they had issues creating their favorite new pieces of art. However, I'm going to tell you the messy truth about the adorable cinnamon ornaments I showed you in my post about Christmas decorations.


There were several times during the creation process that I cursed the name of Martha Stewart for sharing her recipe. It looked so easy and the pictures were lovely...everyone always says that cinnamon ornaments will smell amazing for years...why shouldn't I make them?

Because it's a crumbly mess and I don't have a rolling pin. That's right - I'm too broke to give in to my rolling pin needs. But that's beside the point.

No where in the tutorial is there mention of how crumbly your dough is at first, or how long you will be spending working with it to make it soft and smooth. Also, using this for kitty feet was not a good idea. Salt dough is soft and easy to make impressions with, but cinnamon dough is dense. We had to push their poor, little fighting feet down pretty hard. Where we ended up moving around the cats' ornaments so much to get them under their feet, the top parts were trying to crumble once they were dry. I was able to fix it up with some school glue, but it was still frustrating.

Complaining aside, I love my cinnamon ornaments. The house smells great and I look forward to unpacking them next year and being slapped in the face with the scent of Christmas. My official recommendation is to definitely make them - with a rolling pin and without kitten feet.

I used my last little bit of dough to make these gift tag decorations. I used a bottle cap as a cutter.


I made a few of these for Christmas gifts.

read more "Cinnamon Ornaments - The Messy Truth"

Sunday, November 30, 2014

Broke Girl's Guide to Christmas Decor


The Thanksgiving feast has now been digested and it's officially publicly acceptable to start decorating for Christmas. Since this is our first Christmas in our new home (and really the first Christmas I've been able to decorate for) I'm finding myself in quite the Christmas spirit!

I decided to go simple with my wreath, and chose a design that would work all winter long. I had some silver and white spray painted sticks from a previous project and I bound them with baby blue yarn.


Even my kitchen has a tiny bit of festivity! I switched out my chalkboard art to fit the season. I also went green and recycled a toilet paper roll into this sweet little Rudolph. The tutorial is not in English, but it has an amazing picture tutorial.


I also had an amazing Goodwill find of this 8 bit snowman mug! I filled it with candy canes and sat in on my kitchen counter.


Down the blank wall next to the front door, I hung our 
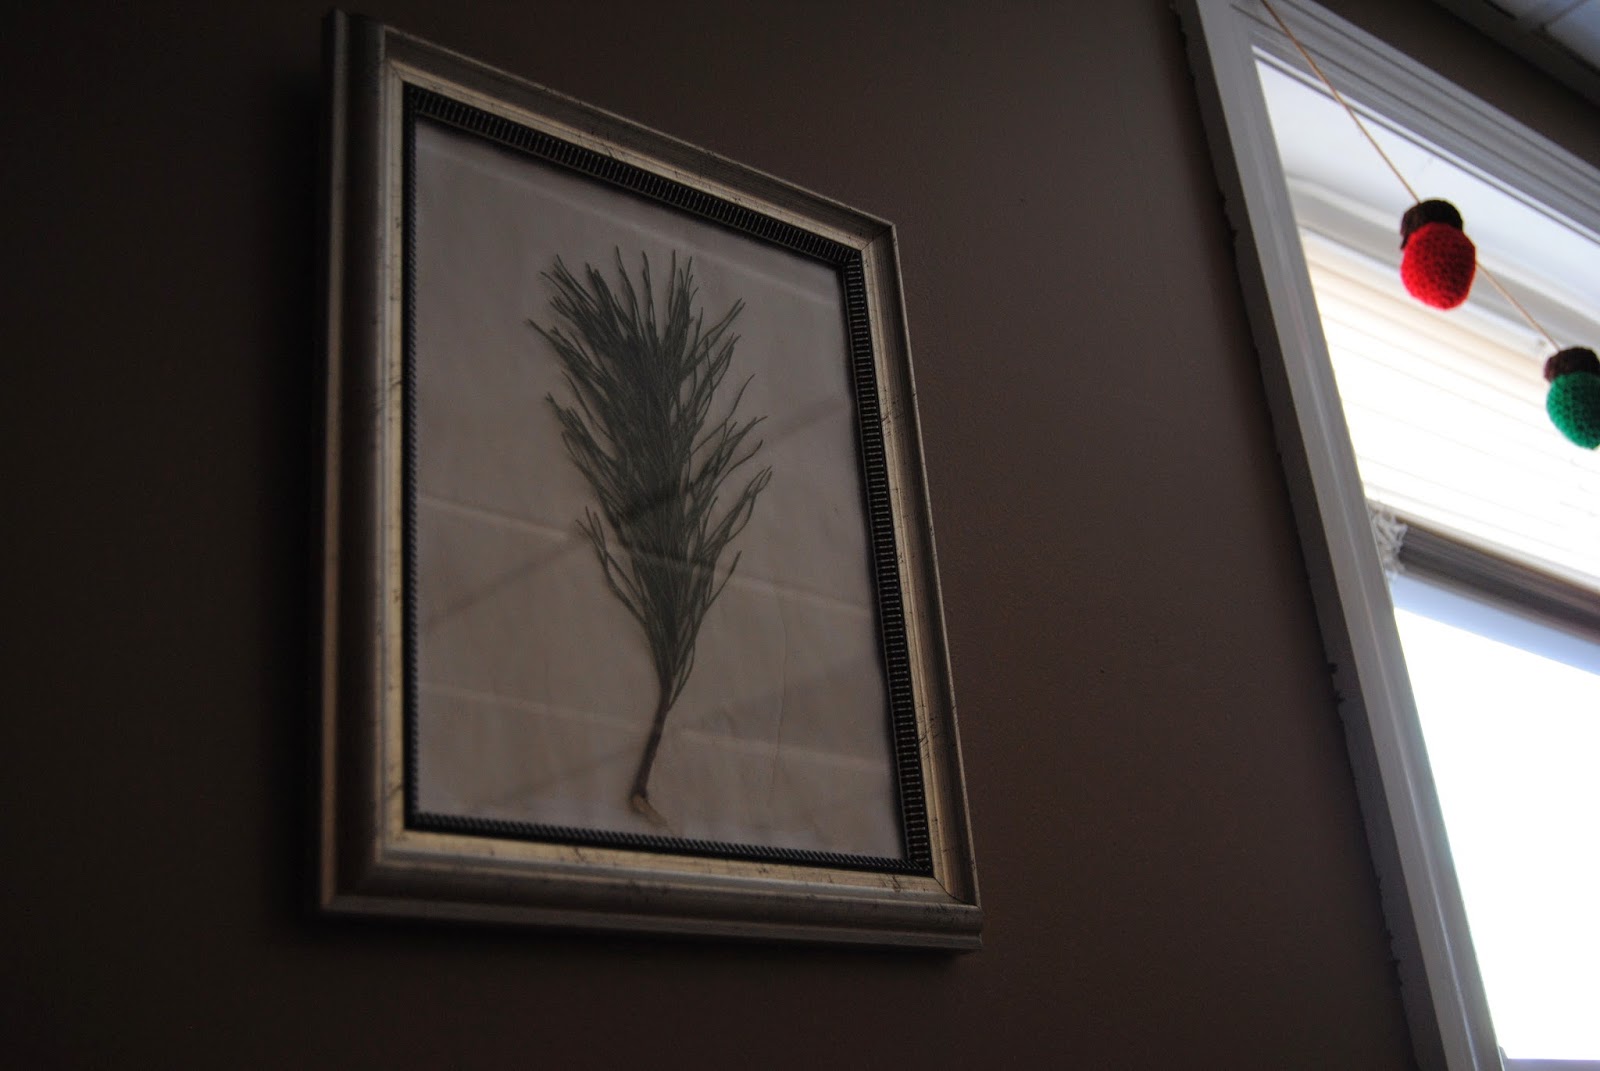
stockings (with care) that I made a few years ago from Goodwill sweaters. I switched out my leaves for pine needles. For my window bunting I crocheted the most adorable vintage lights. I had not idea what to do for the centerpiece of my wall so I just wrapped a scarf around a foam wreath frame and tied a bit of sheer ribbon to the top. It's not great, but it'll hold the place until I think of something better...It takes time to build an arsenal after all! I decided to test the cats (because the tree isn't temptation enough) and put harder things in the windowsill other than crochet items. I found some adorable tins, including the amazing Hershey General Store one, at Goodwill. I also found the stained glass Santa, wooden snow flake bucket, and the silver star bucket, the last two I stuffed with my crochet pine cones, from Goodwill! It is amazing what you can find there...like a Christmas tree!!! That's right, my Christmas tree (artificial with real lights wrapped around it) came from Goodwill. $35 for lights and all!


I topped my tree with a crochet Santa hat that I had laying around from the shop.  We bought a pack of twelve ball ornaments from Dollar Tree to add a bit of shine...which Mischief then knocked off the tree and chased around the house. The hubs and I made cinnamon ornaments too! There are even paw prints for each of the cats. I picked up some clear ornaments from Marshall's and filled one with sand and shells from our honeymoon and another with the decorative flowers from our wedding cake. We also have sand from the exact spot on the beach where the hubs proposed, but we have to track it down before we can put it in an ornament. Somewhere on the tree is also the key from Jesse's bachelor pad. It can be funny to look at our tree sometimes. Only the front third or less is decorated and everything else is completely bare! We know that as time goes on we'll collect more ornaments, so we're trying not to invest in too much meaningless filler right now.


Above our bed, I replaced the silhouette with a snowflake on top of green paper. Across from our bed I hung up a wreath made from coffee filters, if you'd believe it, and tossed up a tiny Christmas tree I made a few years ago. I wish I had thought to write down a tutorial for it! It's pretty simple, though. I rolled a paper plate into a cone, wrapped yarn around it, used a punch on paint chips for the ornaments and lights, and used thread for the string on the lights.


Even my bathroom caught the spirit. When I started planning what I wanted my first home to look like, I always pictured a blue living room. So, when I started buying Christmas things a few years ago, I opted for a lot of blue decorations. Then, we moved into our new home and the walls in the living room were a perfect milk-chocolate shade and we had red and green shade. Red and green. Traditional Christmas colors. That definitely put a kink in my "blue Christmas". However, I've been planning to redecorate my bathroom to have a beach theme. Beaches have blue, right? So I threw up my blue decorations in there! You can't tell from the picture, but that blue bottle is tall.  It's almost as long as my arm! The stick perched inside is spray painted black with silver and blue tinsel. I also hung baby blue crochet snowflakes along the top of the window.


I still have a little bit more to do, like a tree skirt. All of this hard work I've put in, however, will not save me from the headache of cats. I think I mentioned earlier that the Christmas tree has been a bit tempting for the cats?

Mischief is living up to her name. She pulled down the tree and cuddled up under it!
read more "Broke Girl's Guide to Christmas Decor"

Friday, November 14, 2014

Broke Girl's Guide to Autumn Decorations


Halloween, my favorite holiday, has ended and now I must take all my decorations down and transition to an autumn theme. I use my Halloween decorations, as seen in Broke Girl's Guide to Halloween, as a basis to make for easy changes.

I kept the same wreath outside. I moved the witch's broom to the garden and took the tentacles out of the moss and put them into my storage bin for next year (see what I'm talking about here).


I exchanged my Halloween chalkboard art on my fridge for an autumn themed one, from Nest of Posies. Next to my front door, there's this long, thin wall that is simply too empty. I had an idea of crocheting a skinny wall hanging. I'm not sure if I like it, but it will do until time for Christmas decorations to go up.

I exchanged my Halloween silhouettes for rustic framed leaves


My Halloween printable that was framed between my two windows has been switched out for a paper wreath in autumn colors.


The pom-pom garland that was inspired by My Fabuless Life was replaced by paper leaves inspired by Money Saving Mom.


My windowsills had to remain cat friendly, so my zombie brains became pine cones.They can't break these!


For our entertainment center, I filled up the area between our Xbox and Playstation with yarn wrapped bottles. I'm planning on switching these out for different colors year-round.


Isn't it all so cute! The best part is that I spent NO MONEY! This was all from things I could find around the house or free off the internet. If I keep adding to my decoration stash every year than I'll have a perfect arsenal by the time I have children.


Now to start plotting for Christmas...


read more "Broke Girl's Guide to Autumn Decorations "