Monday, March 9, 2015

Make It Monday: Clay Spoon Rest

 
I hate how disgusting the oven gets every time we cook. We don't have a spoon rest so the cooking utensils get put down on the white stove or on our counter. Pet peeve: dirty counters.

You can easily change this tutorial to suit your style. Throw in some pain, cookie cutters, etc. So let's start this week with some crafting! I dug deep into my supplies and pulled out what I needed.


-Sculpey Oven-Bake Clay in white
-Scrapbooking stamps
-Stamp ink
-Extra stamp ink lid (optional; makes stamping easier and cleaner)

Preheat oven according to the directions on your package. For Sculpey, I preheated the oven to 275 degrees. While the oven is preheating, begin shaping your clay. If you are using Sculpey brand, you will see that the clay is already split up into four or five sections. You will only need one of those sections.

Shape your clay into a spoon-like shape. and then pinch up the sides of the top.


You can either smooth out the sides of what you have pinched up, or take the lazier (yet fancy) route. I'm lazy so I pinched the edge and made it wavy. I then took the pads of my fingers and evened the surface of my spoon rest out so it appeared smooth.


Then, I picked out my scrapbook stamp and put it, flat side down, onto the extra stamp lid. Using a spare stamp lid allows a cleaner way of stamping. Make sure your spare stamp lid is clean. I dipped the stamp into ink (I chose gold) and stamped it onto my desired area.


I had to resmooth some areas where the lid's edges pushed into the clay. Then, the spoon rest was ready to go into the oven! When I'm about to bake clay, I prefer to set them on glass dishes rather than foil. It keeps the bottom flatter.


The directions for Sculpey is to bake your clay for 15 mins for every 1/4 inch of clay. My spoon rest is nearing an inch at its thickest so I set my timer for an hour. After baking, let your rest sit for another half an hour.


Now to get to cooking in order to test out your new spoon rest!


read more "Make It Monday: Clay Spoon Rest"

Monday, March 2, 2015

Kulu the Cat's Bowtie Collection

I've been making Kulu bowties ever since I made him his first sweater. It's sorta grown into a holiday tradition for me to make him a new bowtie!


He's even more willing to wear sweaters now! Just none made my me ;)


And Santa hats and scarves don't bother him either!


 He's such a fashionable little cat =)

read more "Kulu the Cat's Bowtie Collection"

Monday, February 23, 2015

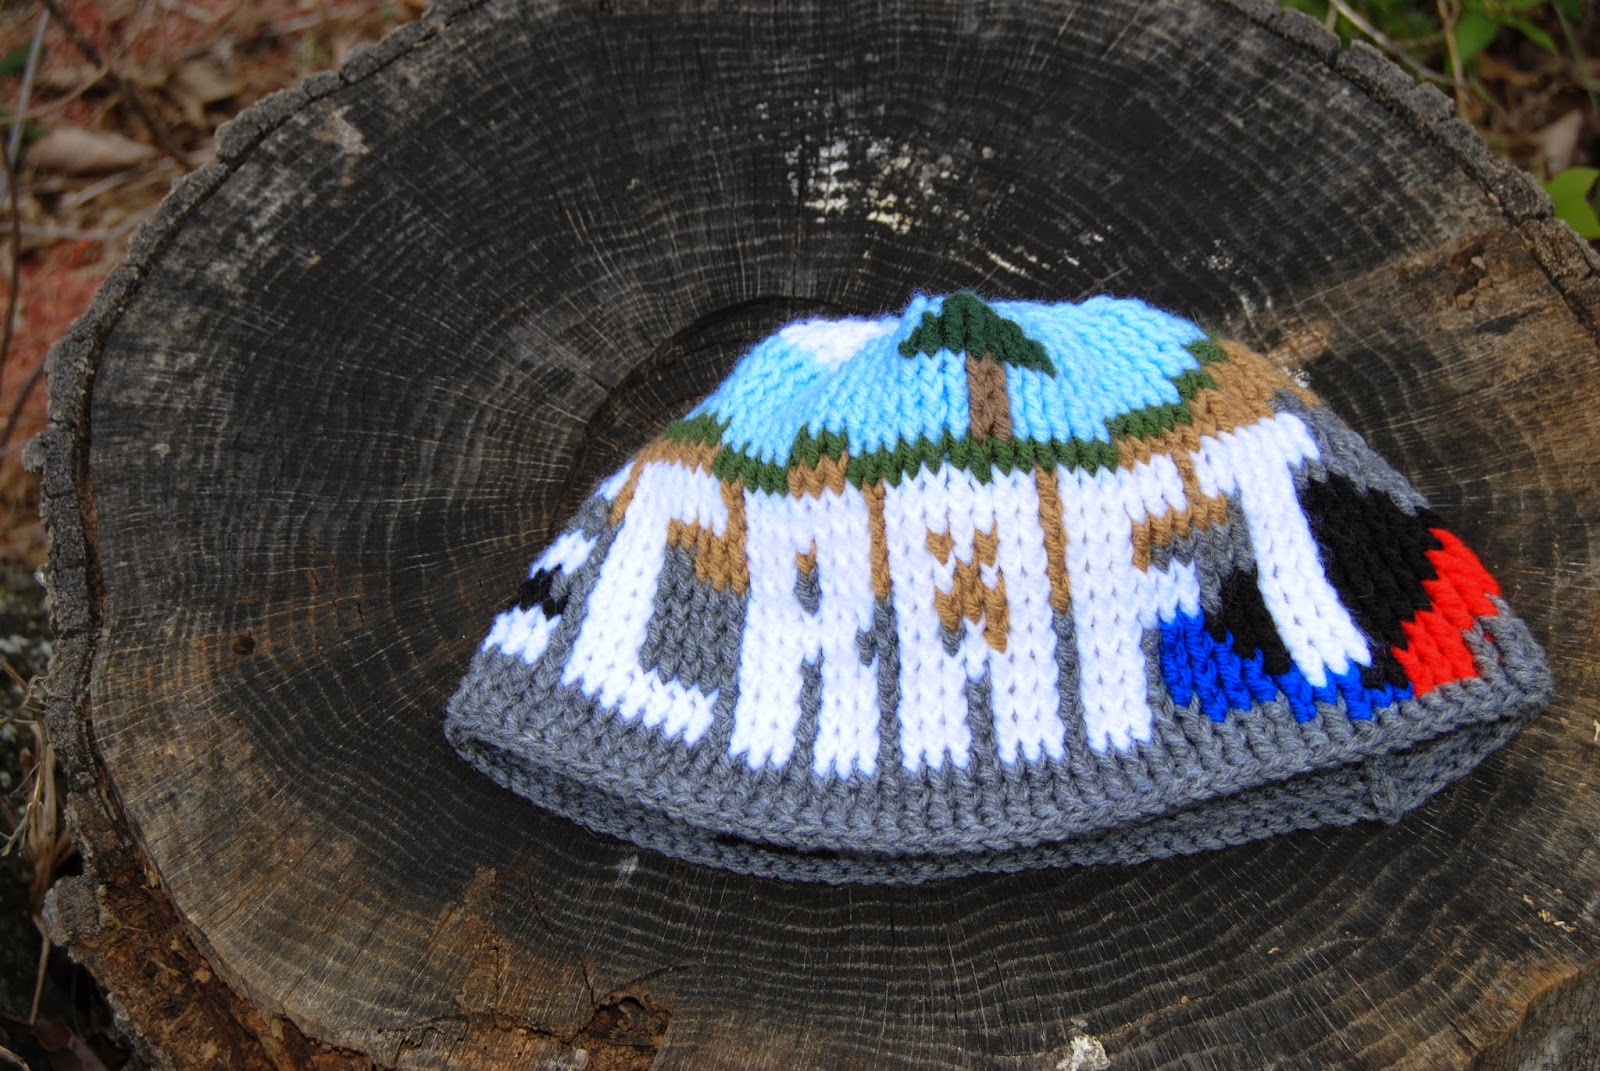
Storenvy Crochet Pattern - Minecraft Logo Hat


Little Wonderland's Minecraft Logo Hat is now available as a pattern!

If you have any questions, please feel free to ask! Also, if you're not a big crocheter but would like to purchase this item, you can purchase it made just for you at my Storenvy shop.

If you're interested in more patterns, I have several for sale through my Etsy shop and even a few geeky patterns at my Storenvy shop.
read more "Storenvy Crochet Pattern - Minecraft Logo Hat"

Monday, February 16, 2015

Etsy Crochet Patterns: Braided Cord Hat AND Free Bag Pattern


Little Wonderland's Braided Cord Hat is now available as a pattern!

If you have any questions, please feel free to ask! Also, if you're not a big crocheter but would like to purchase this item, you can purchase it made just for you at my Etsy shop.

If you're interested in more patterns, I have several for sale through my Etsy shop and even a few geeky patterns at my Storenvy shop.

BONUS TIME!

I also have a pattern that matches the Braided Cord Hat that I'm throwing out there for free!


Hook J
ch = chain          dc = double crochet (US)          fptc = front post triple crochet
hdc = half double crochet

  1. Starting with your base color (for example, brown in the pictures above) ch 40
  2. Ch 1 and turn
  3. Put in a marker. Dc down one side of your chain and then the other until you reach your marker.
  4.  Dc x8
  5. Skip 2 + fptc x2 + switch to your accent color + fptc x2 behind previous stitches
  6. Dc x2 + skip 1 + fptc x1 + switch to your accent color + fptc x1 behind previous stitches
  7. Noted as A
    1. dc around + fptc x2 + fptc x2
      1. One set of the above fptc will be in accent color and the other will be in base color.
    2. dc x2 + fptc x1 + fptc x2
      1. One set of the above fptc will be in accent color and the other will be in base color.
  8. Noted as B
    1. dc around + skip 2 + fptc x2 + fptc x2 behind previous stitches
      1. One set of the above fptc will be in accent color and the other will be in base color.
    2. dc x2 + skip 1 + fptc x1 + fptc x1 behind previous stitches
      1. One set of the above fptc will be in accent color and the other will be in base color.
  9. (A + B) x 7 more times
  10. Dc to next corner and then the corner after that.
  11. Start your strap.
    1. ch 90 in your base color
    2. Triple check that your chain is not twisted when you connect it to the other side.
    3. hdc up one side
    4. dc around mouth of bag
    5. hdc down other side of strap
    6. tie off

If you have any questions, please feel free to ask! Also, if you're not a big crocheter but would like to purchase this bag, feel free to submit a custom order to my Etsy shop for it. I'll be more than happy to make it for you!
read more "Etsy Crochet Patterns: Braided Cord Hat AND Free Bag Pattern"

Monday, February 9, 2015

Etsy Crochet Pattern - Valentine's Day Heart Scarf


Little Wonderland's Valentine Heart Scarf is now available as a pattern!

If you have any questions, please feel free to ask! Also, if you're not a big crocheter but would like to purchase this item, you can purchase it made just for you at my Etsy shop.

If you're interested in more patterns, I have several for sale through my Etsy shop and even a few geeky patterns at my Storenvy shop.
read more "Etsy Crochet Pattern - Valentine's Day Heart Scarf "

Monday, February 2, 2015

Storenvy Crochet Pattern: Minecraft Layers Hat


Little Wonderland's Minecraft Layers Hat is now available as a pattern!

If you have any questions, please feel free to ask! Also, if you're not a big crocheter but would like to purchase this item, you can purchase it made just for you at my Storenvy shop.

If you're interested in more patterns, I have several for sale through my Etsy shop and even a few geeky patterns at my Storenvy shop.
read more "Storenvy Crochet Pattern: Minecraft Layers Hat"

Monday, January 26, 2015

Storenvy Crochet Pattern: Gameboy Phone Sleeve


Little Wonderland's Gameboy phone sleeve is now available as a pattern!

If you have any questions, please feel free to ask! Also, if you're not a big crocheter but would like to purchase this item, you can purchase it made just for you at my Storenvy shop.

If you're interested in more patterns, I have several for sale through my Etsy shop and even a few geeky patterns at my Storenvy shop.
read more "Storenvy Crochet Pattern: Gameboy Phone Sleeve"

Monday, January 19, 2015

Storenvy Crochet Pattern: Pokemon Phone Sleeve


Another new pattern is available through my Storenvy shop! This Pokeball phone sleeve always brings smiles to gamers' faces and can be made in any Pokeball color! Check out the pattern here.

If you have any questions, please feel free to ask! Also, if you're not a big crocheter but would like to purchase this item, you can purchase it made just for you at my Storenvy shop.

If you're interested in more patterns, I have several for sale through my Etsy shop and even a few at my Storenvy shop.
read more "Storenvy Crochet Pattern: Pokemon Phone Sleeve"

Monday, January 12, 2015

Storenvy Crochet Patterns: Dirt and Diamond Minecraft Block


I've released two new patterns onto my Storenvy shop! These Minecraft cubes are some of my favorite items I've made and are always a huge hit at parties with my gamer friends! More to come, too!

Minecraft Dirt Block Pattern
Minecraft Diamond Ore Block Pattern

If you have any questions, please feel free to ask! Also, if you're not a big crocheter but would like to purchase these items, check out the dirt block and diamond ore block on my Storenvy shop!

If you're interested in more patterns, I have several for sale through my Etsy shop and even a few at my Storenvy shop.
read more "Storenvy Crochet Patterns: Dirt and Diamond Minecraft Block"

Monday, January 5, 2015

Free Crochet Pattern: Fat Panda Amigurumi


Did my fingers slip? Oh, no? Another free pattern!

I created the fat panda when the baby of the family (Who is about ten now! When did that happen?) asked for a crochet panda for Christmas. I couldn't find any patterns that I 100% loved so I decided to whip up my own. If nothing else, it's a good starting point for anyone to get creative with their own patterns!


Hook F

sc = single crochet          ch = chain          ss = slip stitch          dec = decrease
dc = double crochet
  • Body
    1. Start with white yarn and make a magic circle with ch2 and 7 sc.
    2. Ch 2 and ss (do this between every round)
    3. Crochet two sc in each stitch around
    4. (Crochet two sc in one stitch and then one sc in the next two stitches)*. Repeat * around. 
    5. (Crochet two sc in one stitch and then one sc in the next three stitches)*. Repeat * around.
    6. Sc around for four rows. 
    7. Switch to black. 
    8. Sc around. 
    9. (Crochet two sc in one stitch and then one sc in the next three stitches)*. Repeat * around. 
    10. Sc around for two rows.
    11. Switch back to white. 
    12. Sc around for seven rows.
    13. Stuff with polyfil or beanbag stuffing. 
    14. (Sc in the next three stitches and then dec)*. Repeat * around for two rows. 
    15. (Sc in the next two stitches and then dec)*. Repeat * around. 
    16. (Sc in the next stitch and then dec)*. Repeat * around. 
    17. Dec around and then do the perfect close for amigurumi.
  • Arms
    1. I personally created the arms by beginning on the body and crocheting to the tips.
    2. Start with black.
    3. Sc into circle of 10 stitches.
    4. Sc around twice.
    5. Dec around and then close
  • Ears
    1. Begin crocheting on the head with black. 
    2. Sc four in a line on the head.
    3. Ch 1 and turn. 
    4. Dc four and tie off to bottom thread, and then pull thread into head. 
  • Feet
    1. Crochet onto body with black.
    2. Sc into circle of 15 stitches. 
    3. Sc around.
    4. Dec around and then close
  •  Using a yarn needle, stitch your facial features onto your fat panda!
If you have any questions, please feel free to ask! Also, if you're not a big crocheter but would like to purchase a fat panda, feel free to submit a custom order to my Etsy shop for it. I'll be more than happy to make it for you!

If you're interested in more patterns, I have several for sale through my Etsy shop.  
read more "Free Crochet Pattern: Fat Panda Amigurumi "

Monday, December 29, 2014

Free Crochet Converse Pattern


I guess this Christmas season has me in the giving spirit! Here's another free pattern!!! These crochet Converse have been gracing my shop on and off for a year now, but I've grown tired of them and will be retiring them soon. So, here they are free for you!


Hook G

ss= slip stitch          ch= chain          hdc= half double crochet          dec= decrease         
fpdc= front post double crochet          sc= single crochet

  1. Start with white (or whatever color you're using for the sole and toe part of the shoe) and chain 3, attach at first chain with ss to create a circle. 
  2. Hdc through the circle ten times. 
  3. Crochet (two hdc in one stitch followed by one hdc in the next stitch)*. Repeat * around. 
  4. Crochet one hdc in each stitch around except for three sets of two hdc per stitch at opposite poles to create an oval shape. Placing markers at these poles will help to keep your stitching clean and organized. You will be using these poles on a later step, also.
    1. for sizes 5 and 6, do this once
    2. for sizes 7 and 8, do this twice
    3. for size 9 and 10, do this three times
  5. Hdc around four times
  6. Ch 1 and turn
  7. Hdc to opposite pole with ch1 and turn at ends.
    1. Do this 13 times for size 5. 
    2. 14 times for size 6.
    3. 15 times for size 7.
    4. 16 times for size 8.
    5. 17 times for size 9. 
    6. 18 times for size 10. 
  8.  Hdc to the center of the poles and (dec twice followed by one hdc)*. Repeat * to end of round. 
    1. Repeat this six times. Do not crochet stitches at beginning and end of the last row.
  9. Switch to the color you want your Converse to be. 
  10. Skip one and hdc around (skip one at corner of heel).
  11. Switch back to white (or whatever color you're using for the sole and toe part of the shoe) with a ss.
  12. Ch 2 and hdc to the toe cap. Attach to the toe cap with a fpdc.
  13. Switch to your color and hdc to other side of toe cap. 
  14. Switch back to white, or equivalent, and fpdc once to toe cap. Then hdc until you reach your ch 2 from #12. 
  15. Switch to your color and ss in 2nd chain in ch 2.
  16. Hdc to first corner of toe cap, dec across toe cap, hdc around, and then ss in the 2nd chain of ch 2, then ch 2. Repeat this two more times. 
  17. Hdc around and ss in 2nd chain of ch 2, then tie off.
  18. For the tongue:
    1. Go one row up from your white toe cap and use color to sc from one st away from white line to opposite side. 
    2. Ch 1 and turn and sc across. Repeat this nine more times.
      1. On the last row, ss the corners onto the body of the slipper. 
    3. Tie off. 
  19. For laces: ch 85. 

If you have any questions, please feel free to ask! Also, if you're not a big crocheter but would like to purchase these slippers, purchase them here or if they've left my shop feel free to submit a custom order to my Etsy shop for it. I'll be more than happy to make it for you!

If you're interested in more patterns, I have several for sale through my Etsy shop
read more "Free Crochet Converse Pattern"

Monday, December 22, 2014

Free Dinosaur Bag Pattern


Today holds a free pattern! I sold this item on Etsy for a little while and even carried around the bag myself for a few months. It received lots of compliments and lots of "favorites" but I felt that it didn't quite fit in my shop. I still love it and I feel like others will, too. So here it is! Free!

Hook G
Colors used in original item: Black by Red Heart Yarn (will be marked as A), Grey Heather by Red Heart Yarn (will be marked as B), Medium Thyme by Red Heart Yarn (will be marked as C), Dark Sage by Red Heart Yarn (will be marked as D), White by Red Heart Yarn (will be marked as E).

  • Row 1: In C, ch 35 and hdc across, ch 1 and turn (do this between each row unless noted otherwise)
  • Row 2-3: hdc across
  • Row 4-28: Switch to A and hdc across
  • Row 29-78: hdc across, connecting the sides with the previous section to create the back
    • to connect the back by (at the end of your row) slip stitch into the equivalent of the back and then slip stitch into the row above, turn, and crochet the next row. You start this by slip stitching your yarn into the row below the one you just created, and then slip stitch in the row below that one. If this description is too confusing, leave a comment below and I will create an entire post dedicated to a tutorial on this method.
  • Row 79-82: hdc across (no more connecting to the back)
  • Row 83: 
    • hdc x10
    • B + hdc x6
    • A + hdc x3
    • B + hdc x6
    • A + hdc x11
  • Row 84:
    • hdc x10
    • B + hdc x1
    • C + hdc x6
    • B + hdc x1
    • A + hdc x1
    • B + hdc x1
    • C + hdc x6
    • B + hdc x1
    • A + hdc x8
  • Row 85:
    • hdc x7
    • B + hdc x1
    • C + hdc x7
    • B + hdc x3
    • C + hdc x7
    • B + hdc x1
    • A + hdc x9
  • Row 86:
    • hdc x7
    • B + hdc x3
    • C + hdc x2
    • B + hdc x1
    • D + hdc x4
    • C + hdc x3
    • D + hdc x4
    • B + hdc x1
    • C + hdc x2
    • B + hdc x3
    • A + hdc x5
  • Row 87:
    • hdc x5
    • B + hdc x1
    • C + hdc x3
    • D + hdc x1
    • B + hdc x2
    • D + hdc x10
    • B + hdc x2
    • D + hdc x1
    • C + hdc x3
    • B + hdc x1
    • A + hdc x6
  • Row 88:
    • hdc x7
    • B + hdc x1
    • C + hdc x1
    • D + hdc x3
    • B + hdc x3
    • D + hdc x7
    • B + hdc x3
    • D + hdc x3
    • C + hdc x1
    • B + hdc x1
    • A + hdc x5
  • Row 89:
    • hdc x5
    • B + hdc x1
    • C + hdc x1
    • D + hdc x3
    • B + hdc x4
    • D + hdc x6
    • B + hdc x4
    • D + hdc x3
    • C + hdc x1
    • B + hdc x1
    • A + hdc x6
  • Row 90:
    • hdc x7
    • B + hdc x1
    • C + hdc x1
    • D + hdc x3
    • C + hdc x1
    • B + hdc x4
    • D + hdc x3
    • B + hdc x4
    • C + hdc x1
    • D + hdc x3
    • C + hdc x1
    • B + hdc x1
    • A + hdc x5
  • Row 91:
    • hdc x5
    • B + hdc x1
    • C + hdc x1
    • D + hdc x4
    • C + hdc x2
    • D + hdc x8
    • C + hdc x2
    • D + hdc x4
    • C + hdc x1
    • B + hdc x1
    • A + hdc x6
  • Row 92:
    • hdc x6
    • B + hdc x1
    • C + hdc x2
    • D + hdc x19
    • C + hdc x2
    • B + hdc x1
    • A + hdc x4
  • Row 93:
    • hdc x4
    • B + hdc x1
    • C + hdc x2
    • D + hdc x3
    • E + hdc x4
    • D + hdc x3
    • E + hdc x5
    • D + hdc x4
    • C + hdc x2
    • B + hdc x1
    • A + hdc x5
  • Row 94:
    • hdc x6
    • B + hdc x1
    • C + hdc x2
    • D + hdc x3
    • E + hdc x2
    • A + hdc x2
    • E + hdc x1
    • D + hdc x3
    • E + hdc x1
    • A + hdc x2
    • E + hdc x2
    • D + hdc x3
    • C + hdc x2
    • B + hdc x1
    • A + hdc x4
  • Row 95:
    • hdc x5
    • B + hdc x1
    • C + hdc x2
    • D + hdc x2
    • E + hdc x5
    • D + hdc x3
    • E + hdc x5
    • D + hdc x3
    • C + hdc x2
    • B + hdc x1
    • A + hdc x6
  • Row 96:
    • hdc x7
    • B + hdc x1
    • C + hdc x1
    • D + hdc x8
    • B + hdc x2
    • D + hdc x9
    • C + hdc x1
    • B + hdc x1
    • A + hdc x5
  • Row 97:
    • hdc x6
    • B + hdc x1
    • C + hdc x3
    • D + hdc x6
    • B + hdc x3
    • D + hdc x5
    • C + hdc x3
    • B + hdc x1
    • A + hdc x7
  • Row 98:
    • hdc x7
    • B + hdc x1
    • C + hdc x5
    • D + hdc x3
    • B + hdc x3
    • D + hdc x4
    • C + hdc x5
    • B + hdc x1
    • A + hdc x6
  • Row 99:
    • hdc x5
    • B + hdc x5
    • C + hdc x2
    • D + hdc x10
    • C + hdc x2
    • B + hdc x5
    • A + hdc x6
  • Row 100:
    • hdc x11
    • B + hdc x2
    • C + hdc x2
    • D + hdc x6
    • C + hdc x2
    • B + hdc x2
    • A + hdc x10
  • Row 101:
    • hdc x11
    • B + hdc x2
    • C + hdc x9
    • B + hdc x2
    • A + hdc x11
  • Row 102:
    • hdc x12
    • B + hdc x11
    • A + hdc x12
  • Row 103-106: hdc across and then tie off. 
 For the strap, slip stitch your yarn onto the top of your bag, chain to your desired length, slip stitch to the other side of the top of your bag. Then double crochet down one side of your strap and then the other.

I sew a fabric lining into the inside of my bag. This will prevent excess stretching as well as the dreaded pen poking out and escaping from your purse.

If you have any questions, please feel free to ask! Also, if you're not a big crocheter but would like to purchase this bag, feel free to submit a custom order to my Etsy shop for it. I'll be more than happy to make it for you! 

If you're interested in more patterns, I have several for sale through my Etsy shop.  Including one similar to this except with an adorable owl!
read more "Free Dinosaur Bag Pattern"

Monday, December 8, 2014

Monday, December 1, 2014

Crochet Pattern: Mario Mushroom Coin Purse


Are you like me and when you look at something you say "I can make that!"

Well now any crocheters can save a few bucks and have some fun with my Mario Mushroom Coin Purse crochet pattern!!!

Find it on Storenvy.

But that's not all! (Yes, I'm pulling my radio announcer voice.)

The pattern for my "Psychedelic" Mushroom Coin Purse is going up on Etsy, too! They're the same pattern, so if you're more comfortable with buying from Etsy you can find it there.


read more "Crochet Pattern: Mario Mushroom Coin Purse"

Monday, November 24, 2014

New Items by Little Wonderland

There's a couple new items in Little Wonderland's Storenvy shop AND Etsy shop!

The Minecraft Obsidian Block.

This six inch x six inch block is crocheted with yarn and stuffed with styrofoam beads. It is inspired by Minecraft's obsidian block.

Better get your diamond pickaxe!


Crochet Kirby Inspired Phone Sleeve

This Kirby inspired phone cover is crocheted out of yarn and is made to order especially for you! It is the size of an iPhone or an iPod Touch but has slight stretch so it can fit as phone slightly larger or smaller. If you are interested, you can also choose to do a custom order and send me your phone/mp3 player's specific dimensions.


Crochet Bears Headband / Earwarmer

This bear ear headband / earwarmer is made to order in your choice of color. It is made with quality yarn. This fun design will be sure to bring smiles to those around you!


I also had a custom order from a dear friend for a bear ear cowl. I tried a new technique so it's thick and warm without being bulky or as expensive. I'm very happy with how it turned out!


read more "New Items by Little Wonderland"

Monday, November 17, 2014

Make-It-Mondy: Zelda Hat

Ever since I listed my long elf hat, I've been waiting for the day that someone requested a custom Legend of Zelda hat. Well, it finally happened! The customer picked out the exact yarn colors she liked, I ordered them, and then I put it all together in this wonderful hat! Thank you to my beautiful customer for sending me these pictures of her modeling it.


read more "Make-It-Mondy: Zelda Hat"