

I still have far too much open wall space in my new place. I can't stand the blank walls staring back at me. I played around online trying to get some ideas and BAM I found my inspiration for a pretty, cheap (as in free) wreath!
First, I had to create my wreath base. Ideally, I would make it out of posterboard and make it larger. However, all I had on hand was a stirofoam plate...so plate it is! I trimmed off the edge, using it as my wreath base and using the inside of the plate to hold my paper scraps.

I pulled out my scrapbook paper and picked out four fall colors.


Which Lulu claimed as her own.

I then cut the paper into 4.5 in x 4.5 in squares (approximately). This tool is a lifesaver that! I had to cut so many squares.

I then gently folded my squares down the center and trimmed them to a point.


I went ahead and did a huge batch of them. So. Many. Squares.

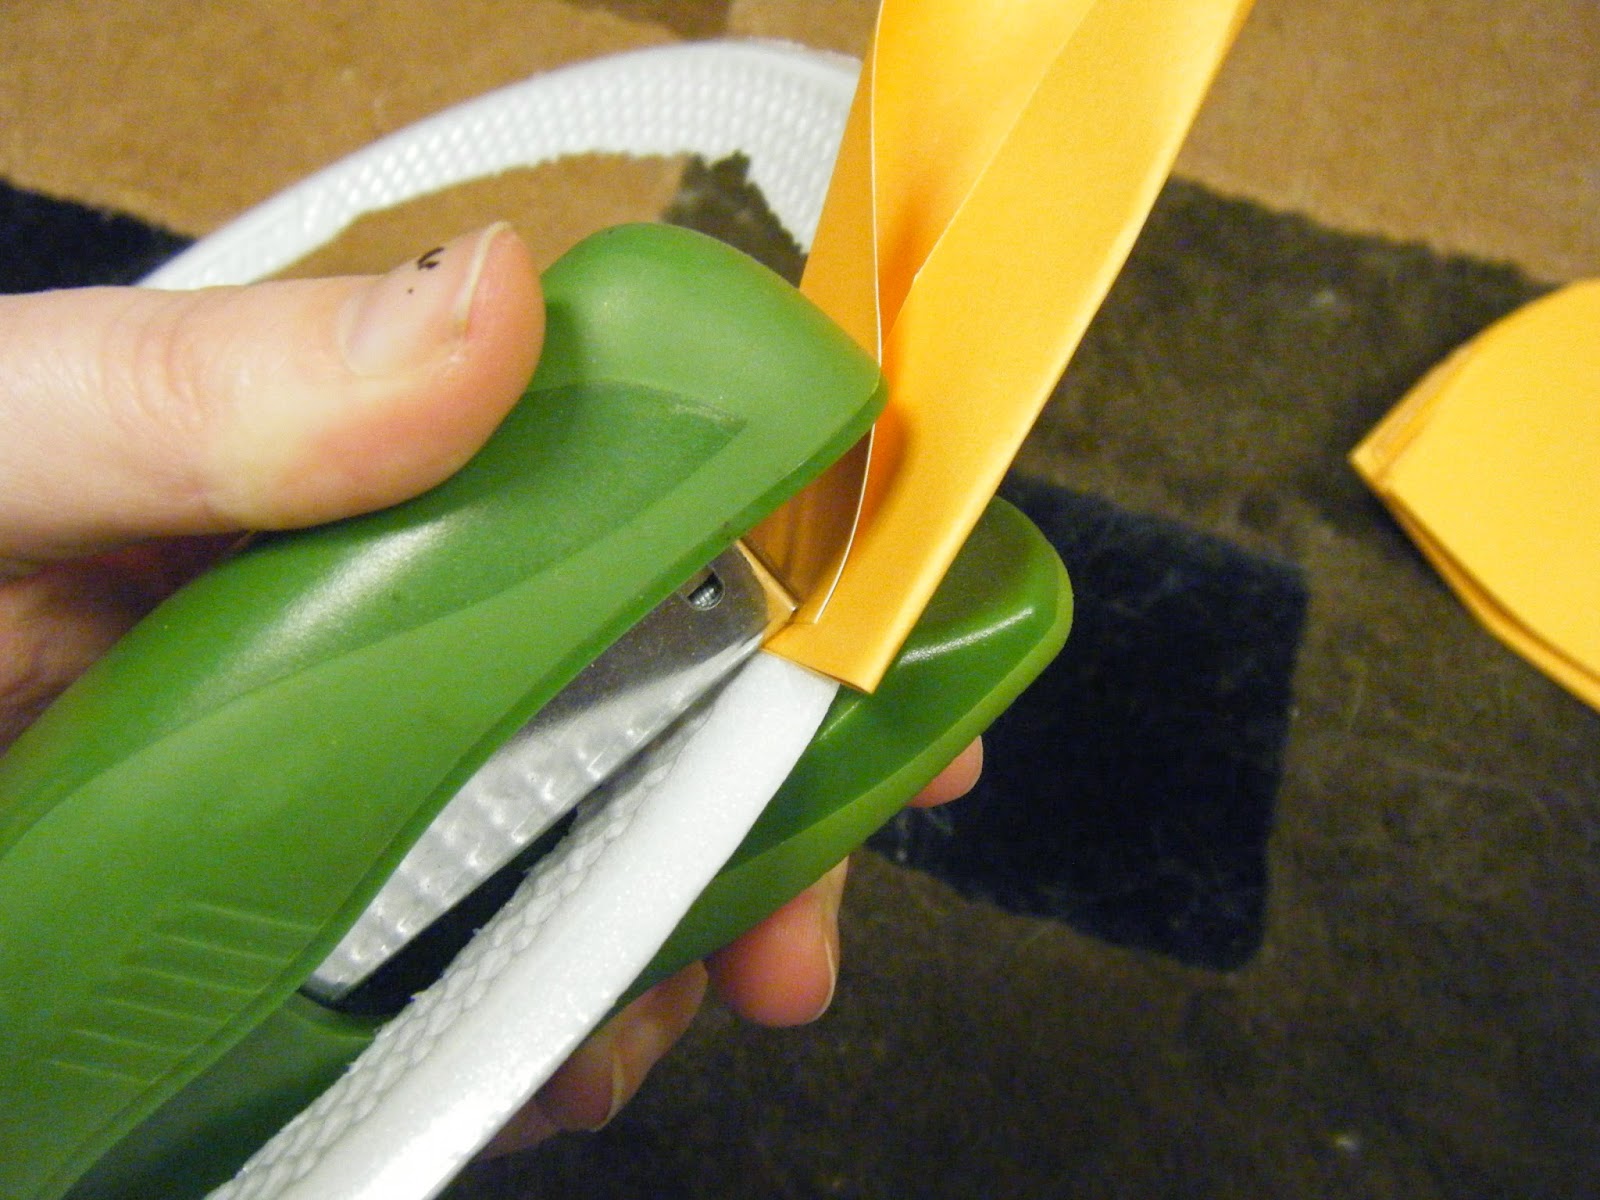
I folded each side just slightly over the center line so they would be overlapping.


I then began stapling the pieces of paper to my wreath base.

Lulu then claimed this as her own, instead of the paper.

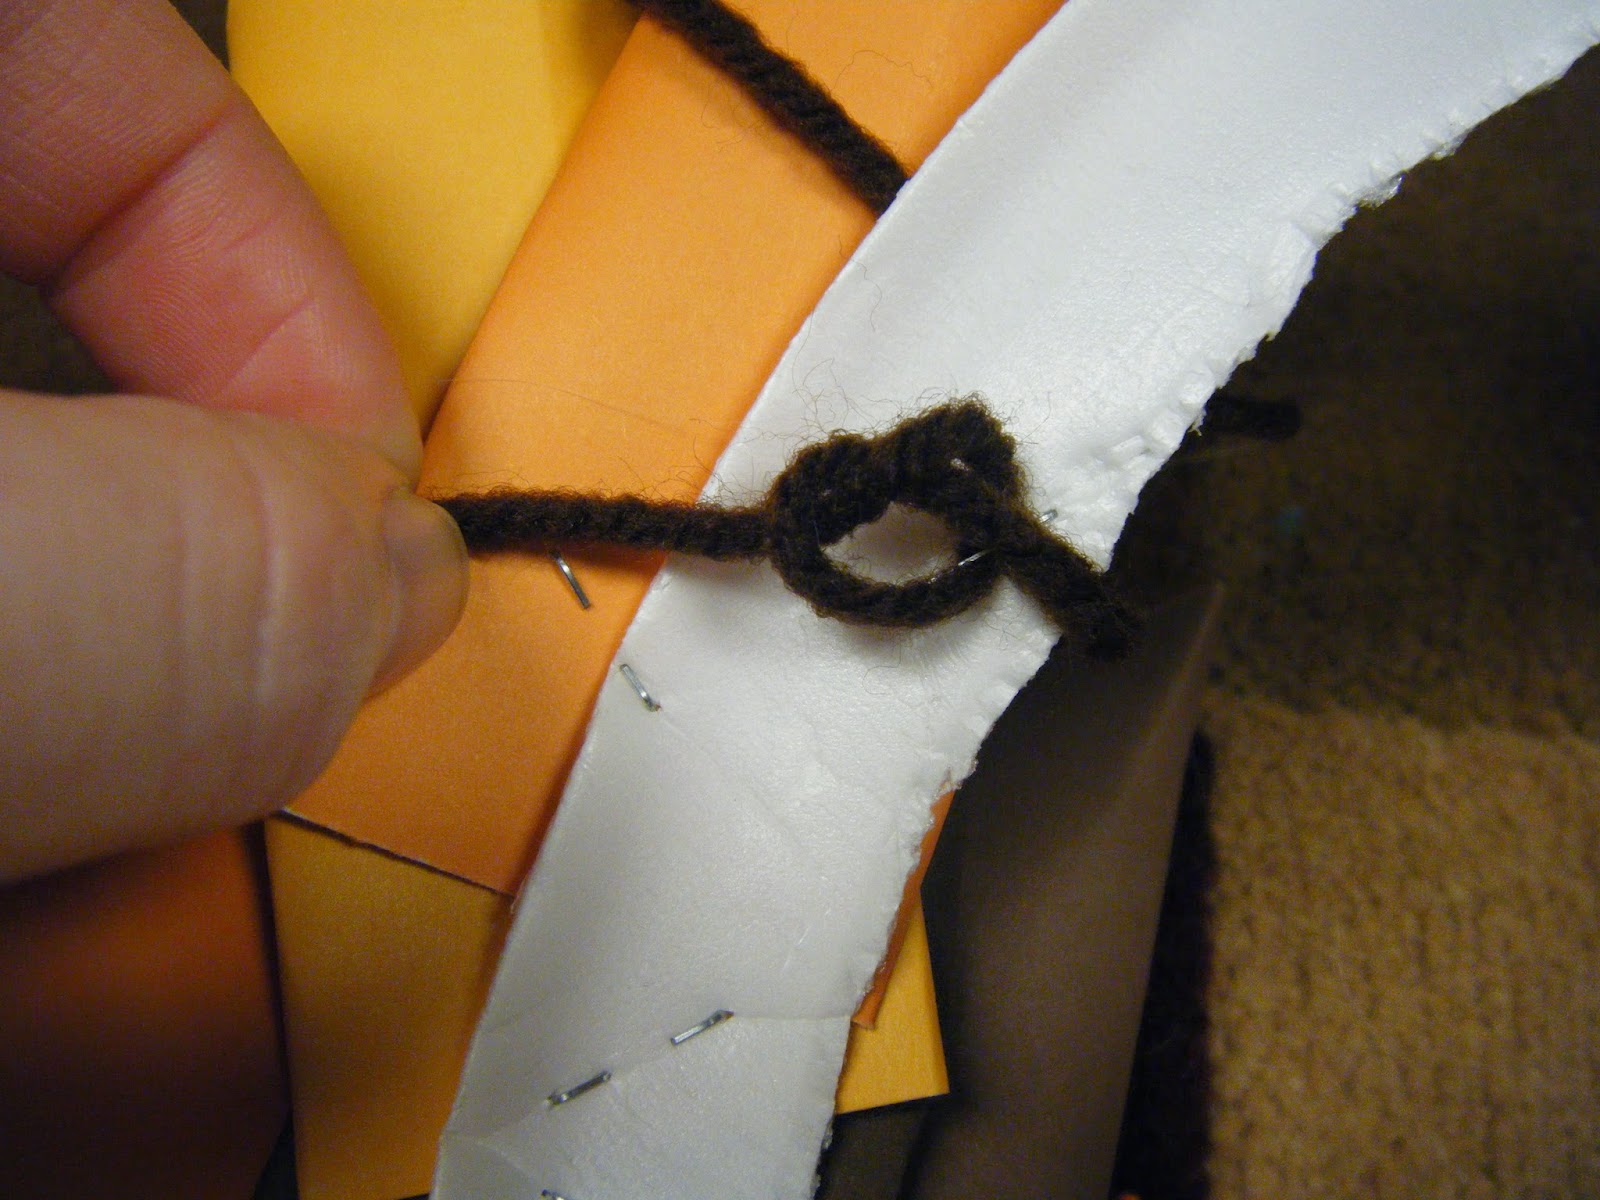
When I was about halfway through stapling the paper to the wreath base, I dug out a scrap of brown yarn and stapled it to the back of the yarn. I'll be using this to hang up my lovely wreath.


I then tied a knot in the yarn around the staple. This will keep the yarn from sliding out from under the staple.
After continuing to staple my pieces of paper to my wreath base, I finish by stapling the last piece of paper ON TOP OF the first (or first couple) pieces of paper.

And BAM! I'm done. Please let me know if you have any questions!

WOW! This is so cool! Found your post on Katherine's linky - glad I stopped by! LOVE the colors, too!
ReplyDeleteI'm so glad you like it! After I cut the squares, I had a lot of fun making it (and I think the cat enjoyed the process too).
DeleteThank you for stopping by!