

After inhaling Ramen into my lungs and crying over the series finale of Merlin (yes, I finally finished it), I decided to pull myself together and do a DIY today! I flipped through my handy-dandy Pinterest, and came across a lovely tutorial from Kira for a knock-off Banana Republic shirt that required a very minimal amount of sewing.

Image from Her New Leaf
After looking over her simple tutorial, I fell in love with the idea and felt I could take it one step further: two braids instead of one! BUMBUMBUM. Okay, so it's not so dramatic, but keep with me here. I rummaged through my two large garbage bags of clothes to cut up upcycle and pulled out one of my mother-in-law's old shirts. She's a huge fan of crafting too, but she doesn't have much time to do it so she passes along all of her supplies to me. Unintentionally, I pull out a v-neck in a shade of blue similar to the one in the original tutorial. Oops.

Following Kira's tutorial, I cut two inch long slits that are one inch apart across the neckline.


I then, however, cut a second row of slits below the first row. Do not try to line them up with the top row.

To start the "braid", I took the second loop and pulled it under the first loop and through the first slit. I then pulled it down towards the other loops and pulled the next one into it. Now you should see your braid forming.

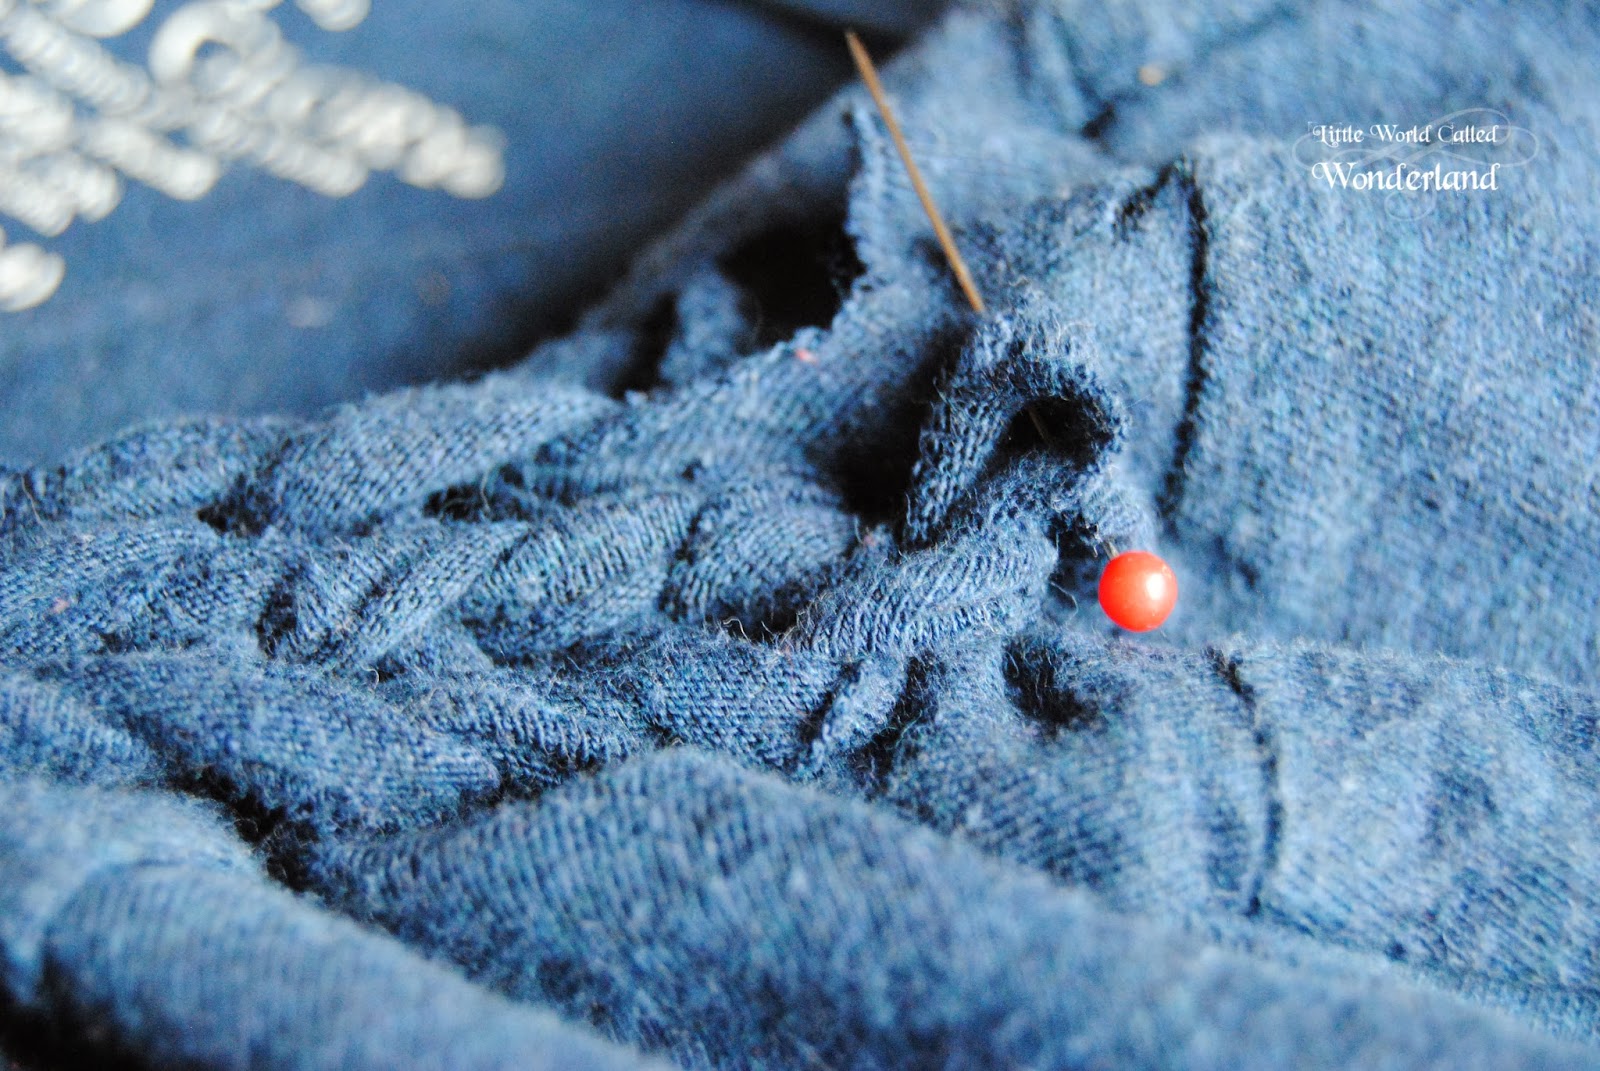
I did this all across the first row of slits and then pinned it. You'll be sewing (either machine or by hand) this down later.

Yay for visual progress!

Then I started on the second row. I braided this one in the opposite direction than the first one for more visual interest. I pinned it as well.
Since I'm sitting three feet from the sewing machine, I opt for that over hand sewing. I do a straight stitch through the loops and then a zigzag stick to seal up the hole that is created when you started the braid.


Originally, this is when I thought I would be done. However, some unfortunate bunching appeared and I couldn't let that slide.

So I took my handy Gingers and cut the collar off. You could sew this or leave it raw. I personally like the look of raw jersey (am I weird for that?). It laid perfect after that for me.


Yay! You're done! I'm a huge lace cami addict and I think this paired very well with it.

Please let me know if you found this tutorial helpful. If you've used this to create your own upcycled shirt, please let me see it!

No comments:
Post a Comment